Wednesday, 1 May 2013

Sewing Doll's Clothes


We have several naked princesses about the house...it seems that the thing to do when you're little and you get a new doll is to take her clothes off as soon as she's out of the box!  So I decided to use some scraps of fabric and make them a new wardrobe.

Pop over to Craftiness is Not Optional to find all the tutorials on how to make some cute outfits.


Hey girlfriend!  
Pocahontas is rocking a lovely strapless (gasp) pink polka-dot sundress.

(I would totally wear this...if only it was as easy to make in my size)


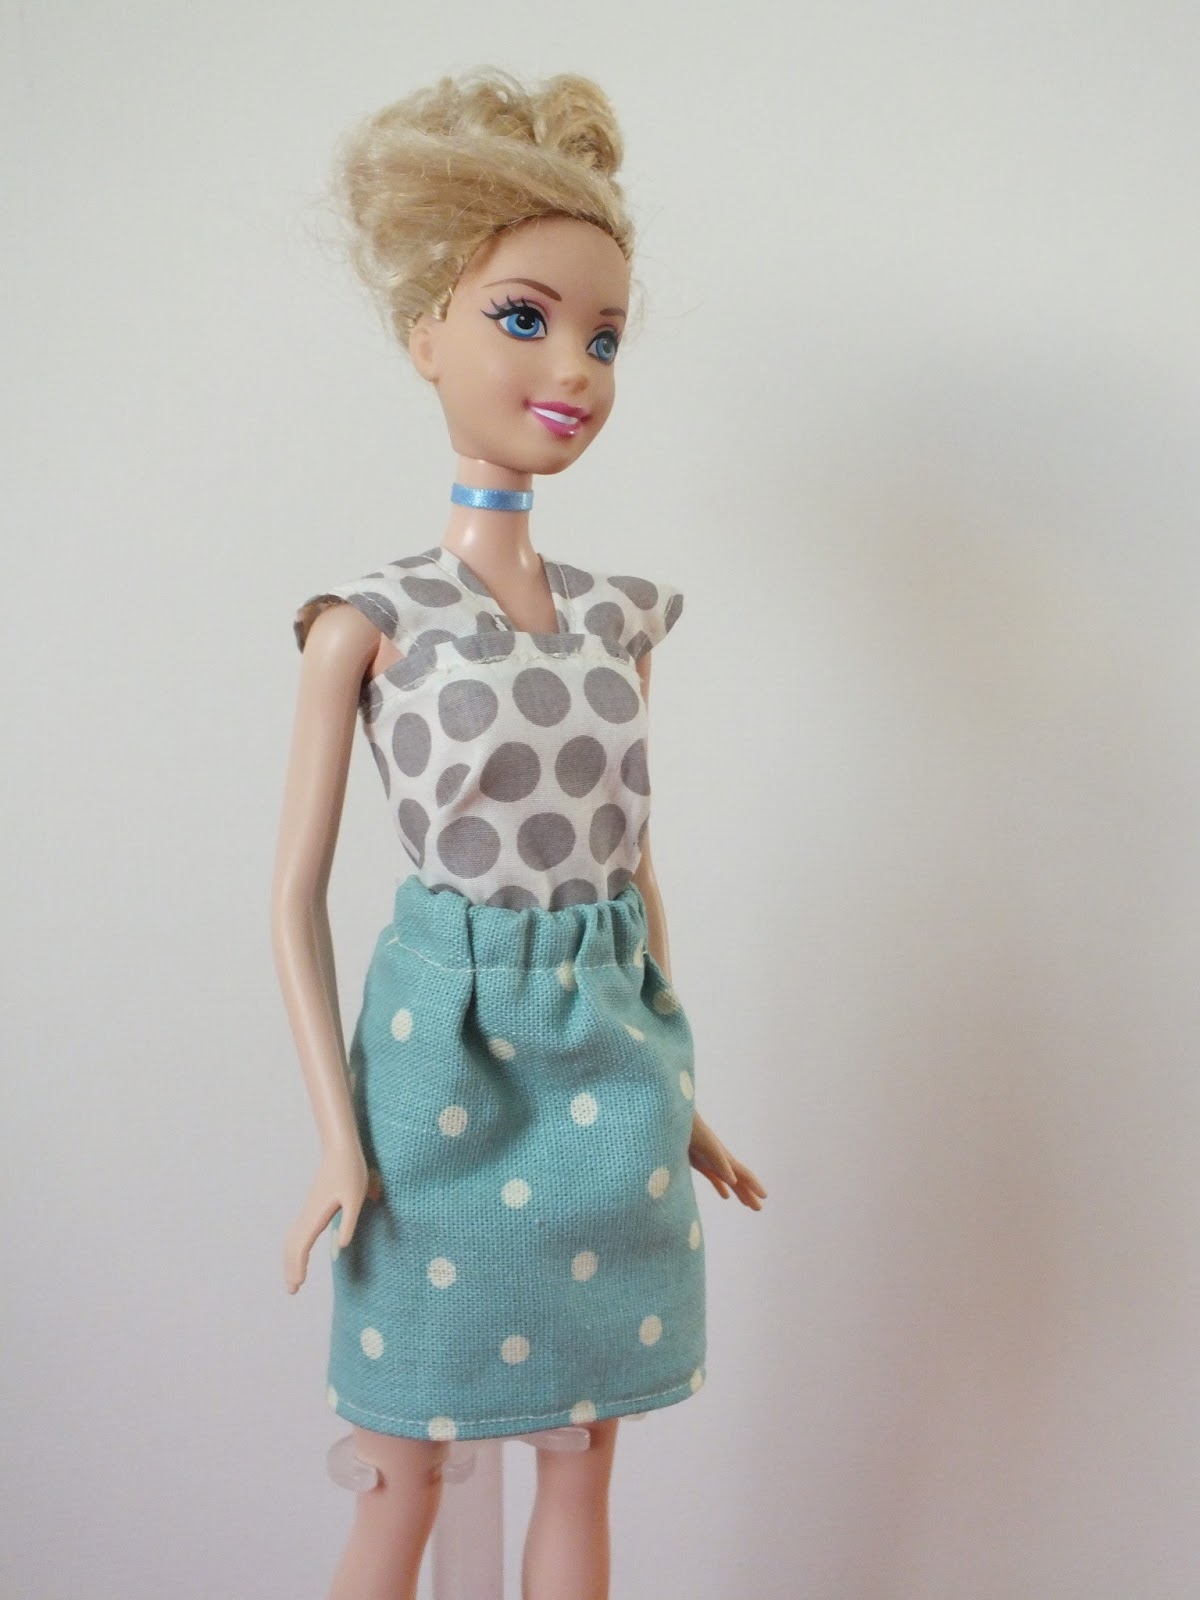
Here's Cinderella modelling her casual skirt and cap sleeved top...well, you can't wear a ball gown everyday can you!

Finally, a small (wingless) fairy in a yellow mini-dress.

These were really fun and easy to make; the tutorials are so easy to follow.

Think I was reacting to having just finished a massive 12 meter fabric sign and felt I needed to sew something small scale. 

I've always been a bit nervous about sewing clothes, I think I have an aversion to handling large amounts of fabric.  Funny, don't feel like that anymore!  So, having conquered doll's clothes, I upscaled a bit and sewed up this little skirt....

This skirt wasn't complicated at all...it's a Lazy Days skirt from Oliver + S (free tutorial here).

So now I'm feeling confident, I've got a couple of patterns to make.


Do you have any tips for sewing children's clothes?

Wednesday, 3 April 2013

Easter Weekend

Easter...the lovely long weekend.

Some time to relax and spend with family.

We had some fairly loose plans...


We took advantage of a blue sky and walked up to the Copper Horse in Windsor Great Park.


Did some exploring....


 and hitched a lift back.


And I'm glad to say we accomplished our list.


I'd love to hear what you all got up to over Easter?

Thursday, 21 March 2013

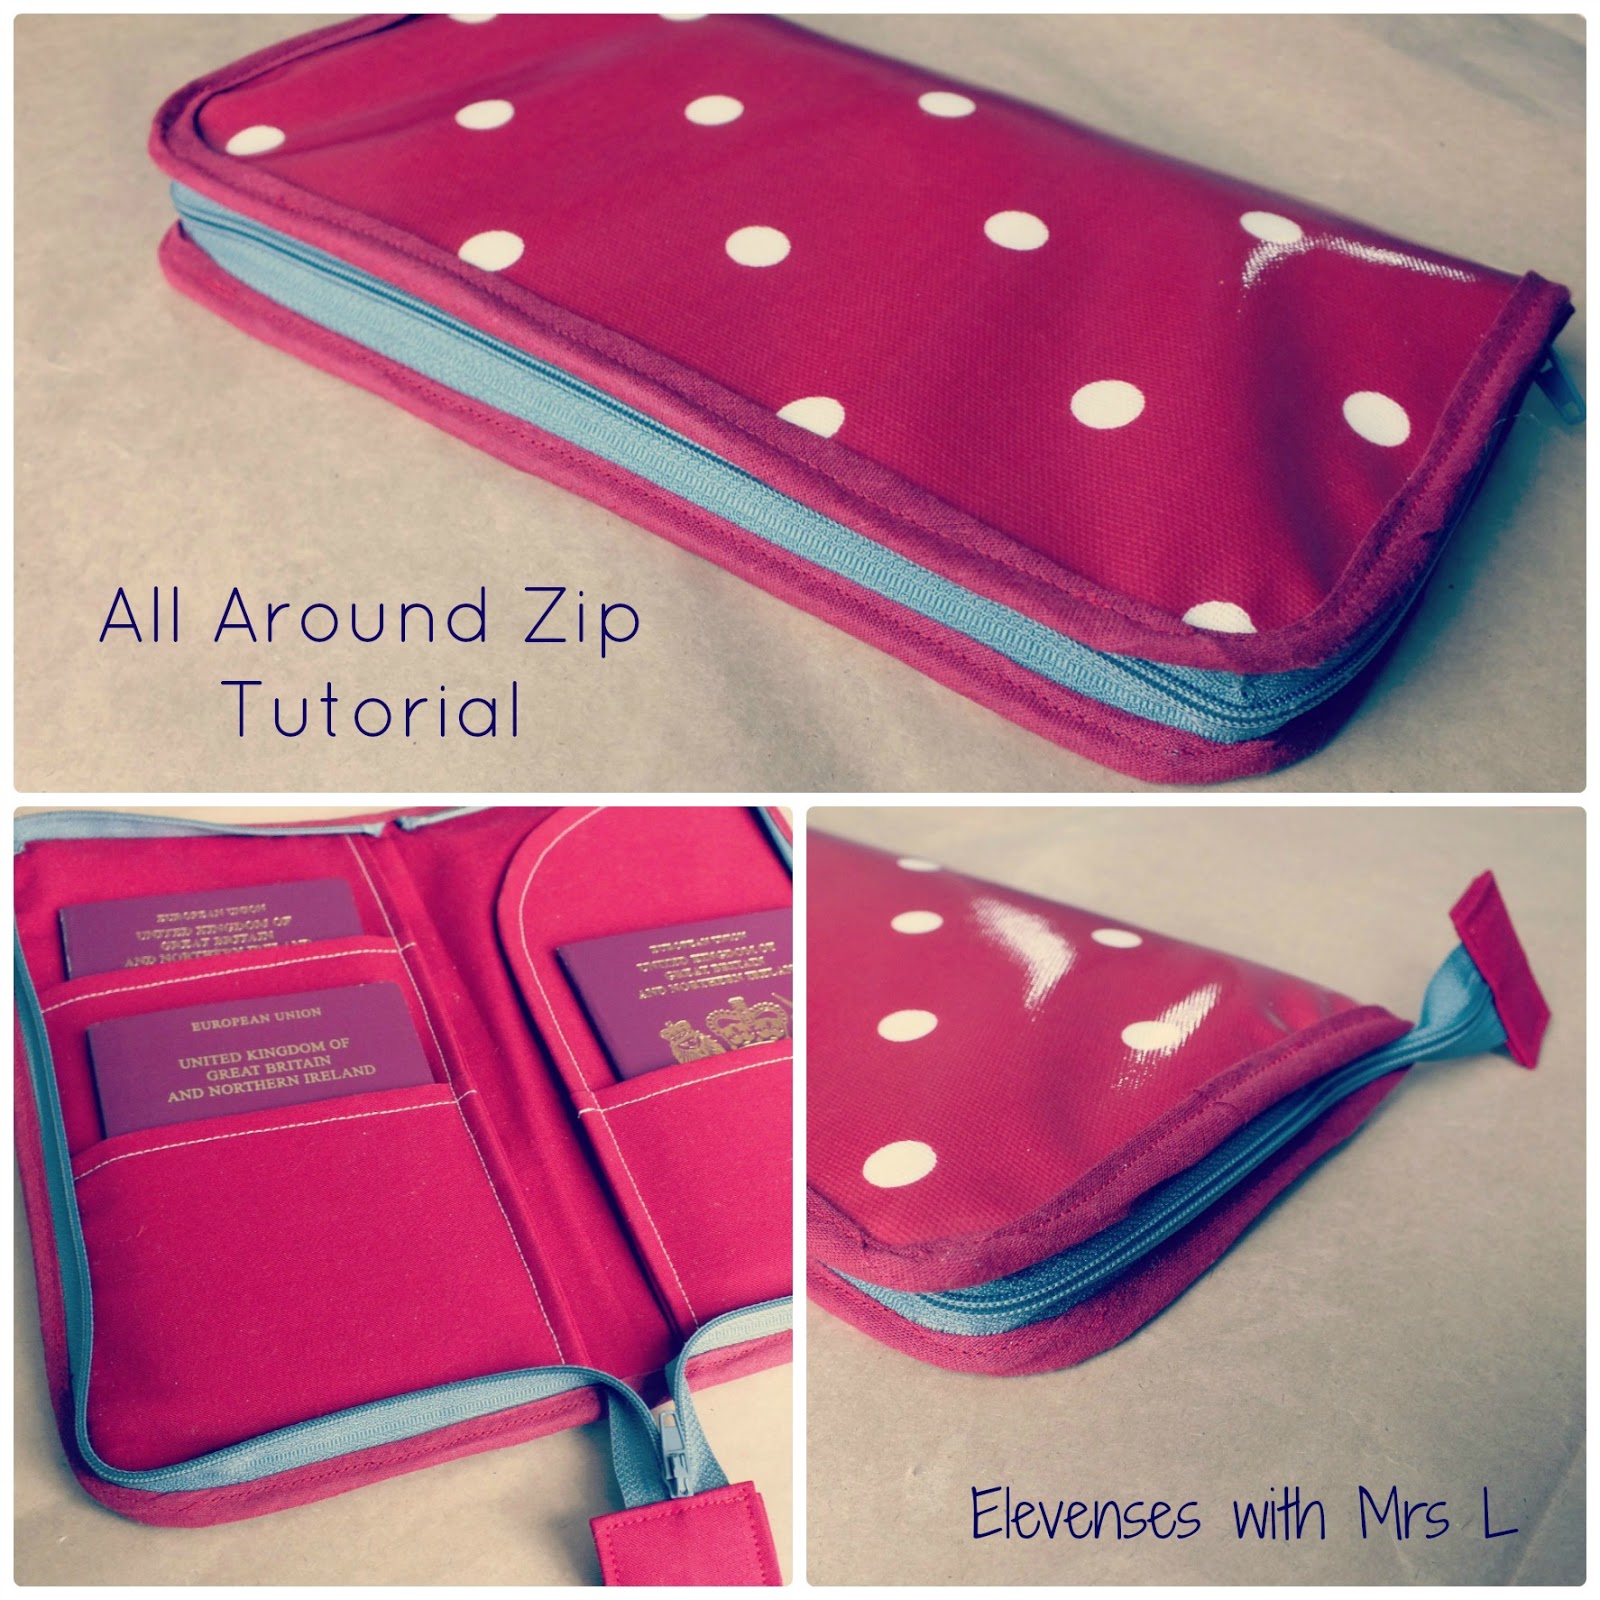
All Around Zip Tutorial


I've just finished making a travel wallet with an all-around zip as part of a custom order and I thought you might like to know how to add this kind of zip.  What do you think?  Shall we give it a go....it's not as difficult as you might think...fiddly, yes, difficult no.

So here is what you will need (this tutorial only refers to how to add the zip and not how to make the wallet.)

- The lining of your project all made up and ready to go
- Outer fabric
- 1 x zip long enough to go all around your project (plus a few inches extra)
- Bias binding
- Your usual sewing kit


OK, here we go....find the centre line of your project either by measuring or iron a light crease down the centre.  Take one side of your fully opened zip and starting at the top of your lining, pin the zip along the edge so that the teeth are facing inwards.  Fold under the end of the zip and leave a gap between each side of the zip, this helps to get a neat finish.


(Ignore my overhanging lining - I was adjusting the length of my finished wallet!). 


Corners can be tricky.  Clip a notch into the zip tape to make it bend around the curve.

Pin your zip around both sides; when you reach the centre bottom, fold your extra length of zip into your lining and pin it to keep it out of the way.  It's worth taking the time to get this step right so that things look even.


With your zipper foot attached, sew all around your zip starting at the top.  


I sewed close to the outer edge as I wanted to create some width in the wallet to hold several passports; you can adjust this depending on the needs of your project.

Take your time with this step - especially around the corners, pivot your lining around whilst the needle is down to sew around the corners.

Once you've sewn around both sides of the zip, check that your project closes!

Now to attach the bias binding to your lining.  Open out the top fold and sew down the crease onto your zip (again, go slow!  Make sure your zipper teeth are out of the way!)  I started the binding at the bottom of lining and overlapped the ends for a neater finish.


Now flip your lining and the binding over to the other side; slot your outer fabric on top (right side up) - you may need to trim the fabric or cut the corners slightly to get it to fit.  I found it useful to have a little (teeny tiny!) overhang to make sure that the stitches caught the fabric.

Fold your binding into a nice neat edge and sew all around.  I found it useful to add a couple of basting stitches to the zip corners to keep the teeth down and out of the way.  Again, go super slow and keep checking that you're not sewing the zip teeth.  Take your time with the corners.


And there you have it...fold in half and you have an all around zip. 


Are you going to give this a go?  Let me know how your projects went!


Wednesday, 6 March 2013


Sometimes you just need to escape....spend some time with family and friends enjoying the spring sunshine.


We escaped to the Cotswolds.  Saturday involved a tasty lunch and a visit to the Cotswolds Farm Park where spring has clearly arrived.


 Sunday was a stroll through the village, a trip to the park and a relaxed Sunday roast in front of the log burner.  Perfect.


 What's your perfect weekend escape?


Tuesday, 19 February 2013

New Bunting Display

I have been racking my brain for a new way to display my bunting samples on my market table for some time.  Up until now, I have been using a fabric covered board propped up by an easel - I had made good sales this way but the board takes up nearly half the table...there must be something better.

This problem had troubled me for ages and then it hit me.....a clothes rail - so simple and cheap that I'm embarrassed it has taken me over a year to come up with this! So, supplies ordered......


I primed the dull black clothes rail and sprayed it a lovely blue..


I knocked up a new sign....


And ta da.... 


Much better I think.

Wednesday, 30 January 2013

Washi Tape Ideas

I'm developing a little bit of an addiction to washi tape - it's the super easy way to jujj (is that how you spell it?? I don't think I've ever written jujj before!) up...well about anything.

Washi tape is a coloured masking tape originating from Japan;it's available in tonnes of colours and patterns and it's not super sticky making it easy to remove or re-position so it's the perfect accomplice to your crafty genius.

Here's a few ideas to get you thinking...

First, the easy stuff.


Washi tape pegs from Berylune- I will be making some of these for my market table!

How about pimping up your stationary? The Creative Place


Feeling confident? Check out this gorgeous keyboard from Kira over at Her New Leaf


(I would totally do this but I don't think the man would be toooo happy)

How about something for your wall...


Find out how easy this is at Dear Lizzy

Use washi tape to frame your pictures, pop over and take a look at Design Sponge


And for when you really need some colour, how about a rainbow table?  Lady Croissant got super busy with the washi tape!


I am totally doing some (maybe all) of these - watch out Mr L!  

So, what are you planning to do with your washi tape?  Leave a comment and let me know.


Monday, 3 December 2012

Easy Advent Calendar

I have just hung up our home made advent calendar - yes, a few days late but that just means a whole bundle of goodies to start with!

This is so simple, re-usable and the best part is, you can fill it with anything you like - sweets, stickers, pencils, games, whatever you're happy for your little ones to have.


All you will need is envelopes, numbers (stickers, stamps - whatever you have to hand), string / twine for hanging, pegs and the goodies.  


The countdown to Christmas has begun!