Tuesday, 25 June 2013

A new dress - Simplicity New Look Pattern 6145

Did you catch the Great British Sewing Bee a few weeks back? What did you think? I loved it!  I haven't really sewn many clothes before and the contestants made it look so easy I thought I must have a go...but when do I squeeze it in??

Funnily enough, I was contacted shortly after the series finished and asked if I would like to choose a Simplicity pattern to make and review......eeeer, yes please!

The first challenge was to choose a pattern - there is a huge amount of choice on the website but as I hadn't made anything before I went for a simple shift dress marked "EASY".  (Easy for some - I hadn't made sleeves, sewn darts or an invisible zip before!)


I don't mind saying I was a little daunted when opening the pattern - there is a huge amount of information squeezed into those little packets.  But once I had decided which of the variations to make, I realised I could just ignore more than half of those instructions - who hoo!

With this particular pattern, there are 4 different sleeve options and 2 collar options - not bad for the price.  I went for the simplest looking one - no collar and short sleeves.  The dress pattern was simple enough, only 6 pieces (1 front, 2 back, 2 sleeves and 1 neck facing) and after an emergency call to my Mum to ask what under-stitching was (seems obvious now!), things had progressed well and I was on to the invisible zip.

This was my first invisible zip I might add.  I needed the help of you-tube on this one - this video was particularly useful and made it look so easy.  And in truth, it really was - look!


Next challenge - sleeves, pleated sleeves.  And again, this was a lot simpler than I had thought, I guess this is down to the straight-forward instructions.


And ta da....a dress, with zip, darts and sleeves.  A proper dress.


Although I'm not in love with the dress and I might even change the sleeves to something simpler, actually making it and following the pattern was really easy.  The instructions are concise (I did find myself reading them several times...out loud) but with a little help from the wonder that is the Internet, they are straight-forward and easy to follow.

Would I make something again?  Absolutely - I am impressed with my zip and sleeves (I can actually move my arms when wearing the dress!) so I will certainly be giving dress-making another go.

How about you?  Have you made anything for yourself?  Can you recommend any patterns?


Sunday, 2 June 2013

Room for Improvement - decorating on a budget

Moneysupermarket.com recently launched their "Room for Improvement" competition to bloggers; the idea is to change the feel of a room for a mere £50.  Yes people...£50!

So what did I choose?  Well, the Mr and I have lived together for 13 years and have never quite agreed what should go on the walls in our home, so we have always ended up with a make-do to fill the space or even worse, nothing!  So I decided to use the £50 to get something up on our living room walls.

Before....an old fabric covered canvas and ....nothing.  We've lived here for 5 years people and still have nothing up on that wall!


I decided to use the money to buy picture frames - the biggest I could afford.  When you're on a budget and want something that looks good, there's only one place for it - IKEA.

I brought three 50 x 70 frames (£12 each) and one 70 x 100 frame (£16) all from the Ribba series and all in white.  I think these frames are pretty good for the money - they have a good finish, come with fixings and all come with picture mounts included.

To be honest, I have brought much more expensive frames and thought they looked cheap but when you spend £16 on a large frame, you can't help but be impressed with it!

At this point, I had spent my entire budget (plus £2!) so had to think hard about what to put in the frames (it hasn't been unknown for me to hang up an empty frame I might add, but didn't think that approach would cut it here.)

I have a large stash of fabric, so decided to pick some coordinating fat quarters - so that filled my 3 smaller frames.


The bigger frame proved more tricky.  The picture size was too big for a fat quarter and I didn't have any other suitably sized pattered fabric - could I paint something using Little Miss L's paints??? 

Errrr...no.  Tried and failed - in fact Mr L thought it was one of her pictures!

My last idea seemed to be a good one, I got out my Silhouette Cameo and cut 3 stars to use as templates.  I raided my fabric again and found some linen and red fabric - perfect.  I decided to cut the stars in different sizes to represent each member of our little family and simply sew them onto the linen (there are currently arguments as to who is the big star!).


Ok, so the're not the greatest pieces of art but they're more personal than buying something off the shelf.  They make our living room feel more "finished", I choose these colours purposefully to add splashes of colour around the room so in fact, they are very "bespoke" if you will!

And there you have it - four pictures for £52 and I'm really happy with them.


Do you have any tips for decorating on a budget - I'd love to hear them!

Wednesday, 1 May 2013

Sewing Doll's Clothes


We have several naked princesses about the house...it seems that the thing to do when you're little and you get a new doll is to take her clothes off as soon as she's out of the box!  So I decided to use some scraps of fabric and make them a new wardrobe.

Pop over to Craftiness is Not Optional to find all the tutorials on how to make some cute outfits.


Hey girlfriend!  
Pocahontas is rocking a lovely strapless (gasp) pink polka-dot sundress.

(I would totally wear this...if only it was as easy to make in my size)


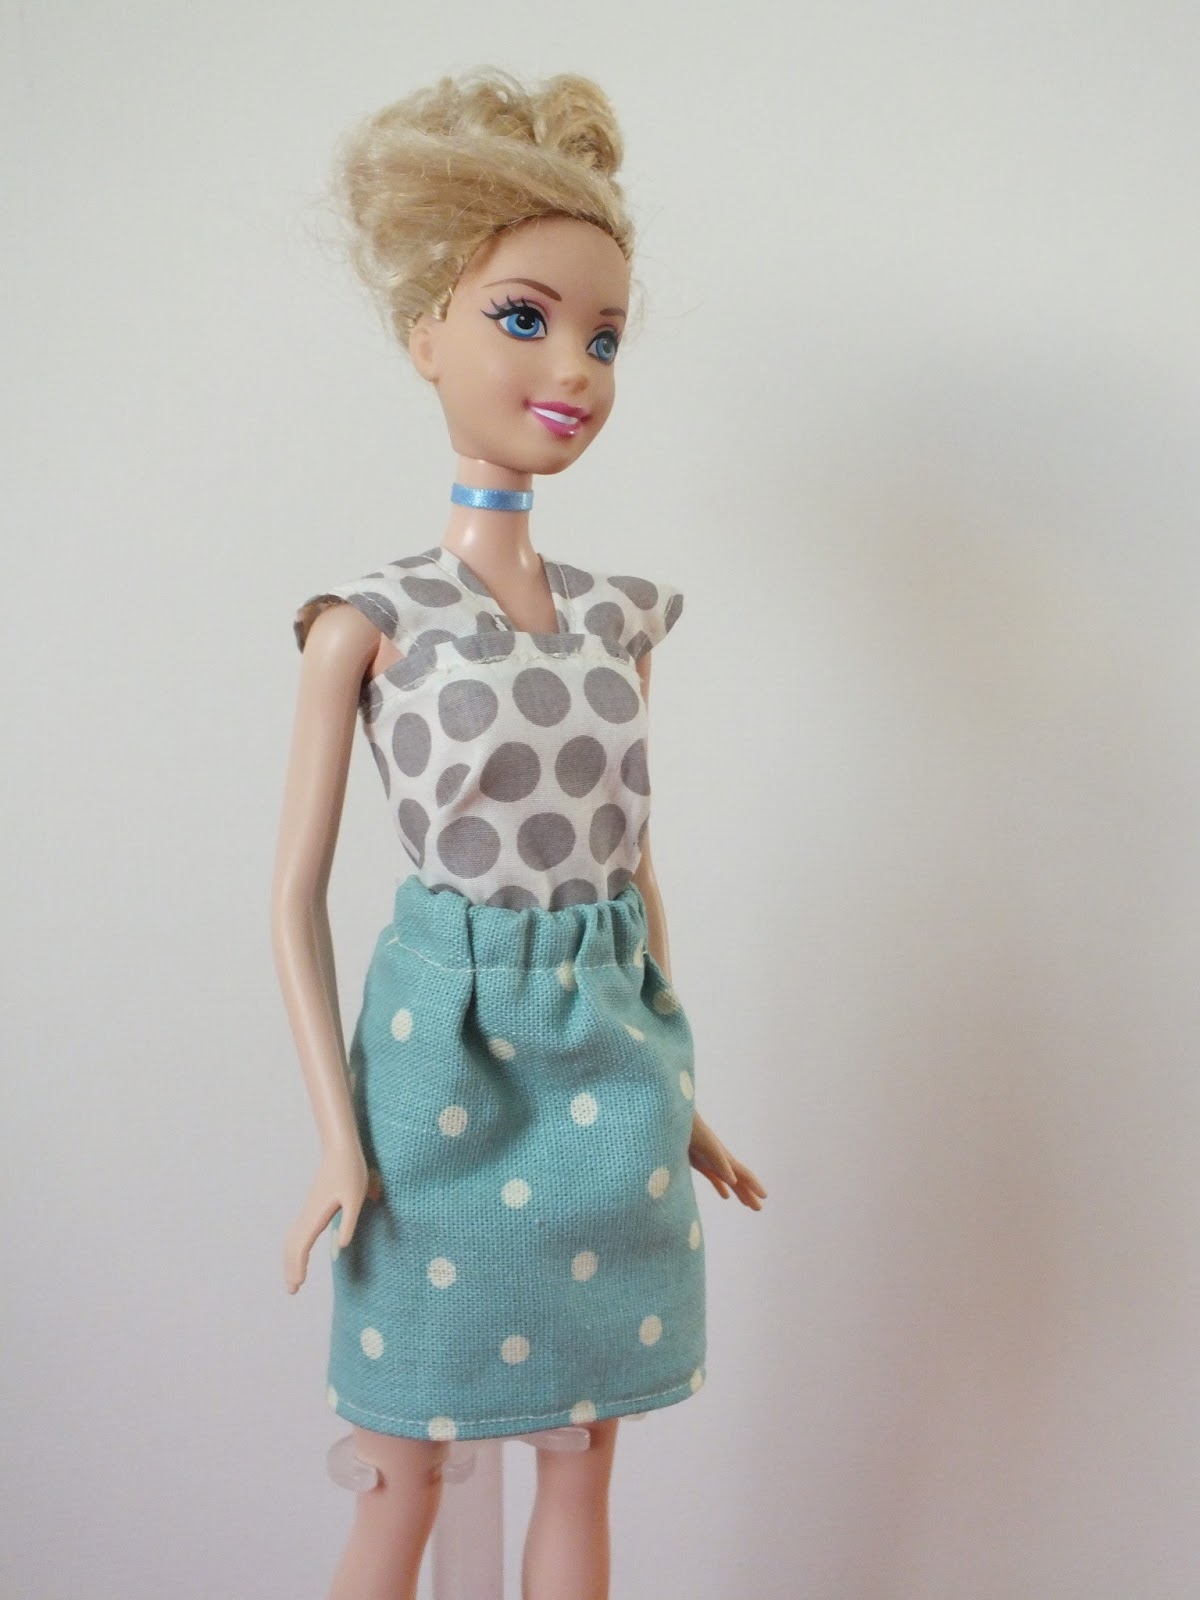
Here's Cinderella modelling her casual skirt and cap sleeved top...well, you can't wear a ball gown everyday can you!

Finally, a small (wingless) fairy in a yellow mini-dress.

These were really fun and easy to make; the tutorials are so easy to follow.

Think I was reacting to having just finished a massive 12 meter fabric sign and felt I needed to sew something small scale. 

I've always been a bit nervous about sewing clothes, I think I have an aversion to handling large amounts of fabric.  Funny, don't feel like that anymore!  So, having conquered doll's clothes, I upscaled a bit and sewed up this little skirt....

This skirt wasn't complicated at all...it's a Lazy Days skirt from Oliver + S (free tutorial here).

So now I'm feeling confident, I've got a couple of patterns to make.


Do you have any tips for sewing children's clothes?

Wednesday, 3 April 2013

Easter Weekend

Easter...the lovely long weekend.

Some time to relax and spend with family.

We had some fairly loose plans...


We took advantage of a blue sky and walked up to the Copper Horse in Windsor Great Park.


Did some exploring....


 and hitched a lift back.


And I'm glad to say we accomplished our list.


I'd love to hear what you all got up to over Easter?

Thursday, 21 March 2013

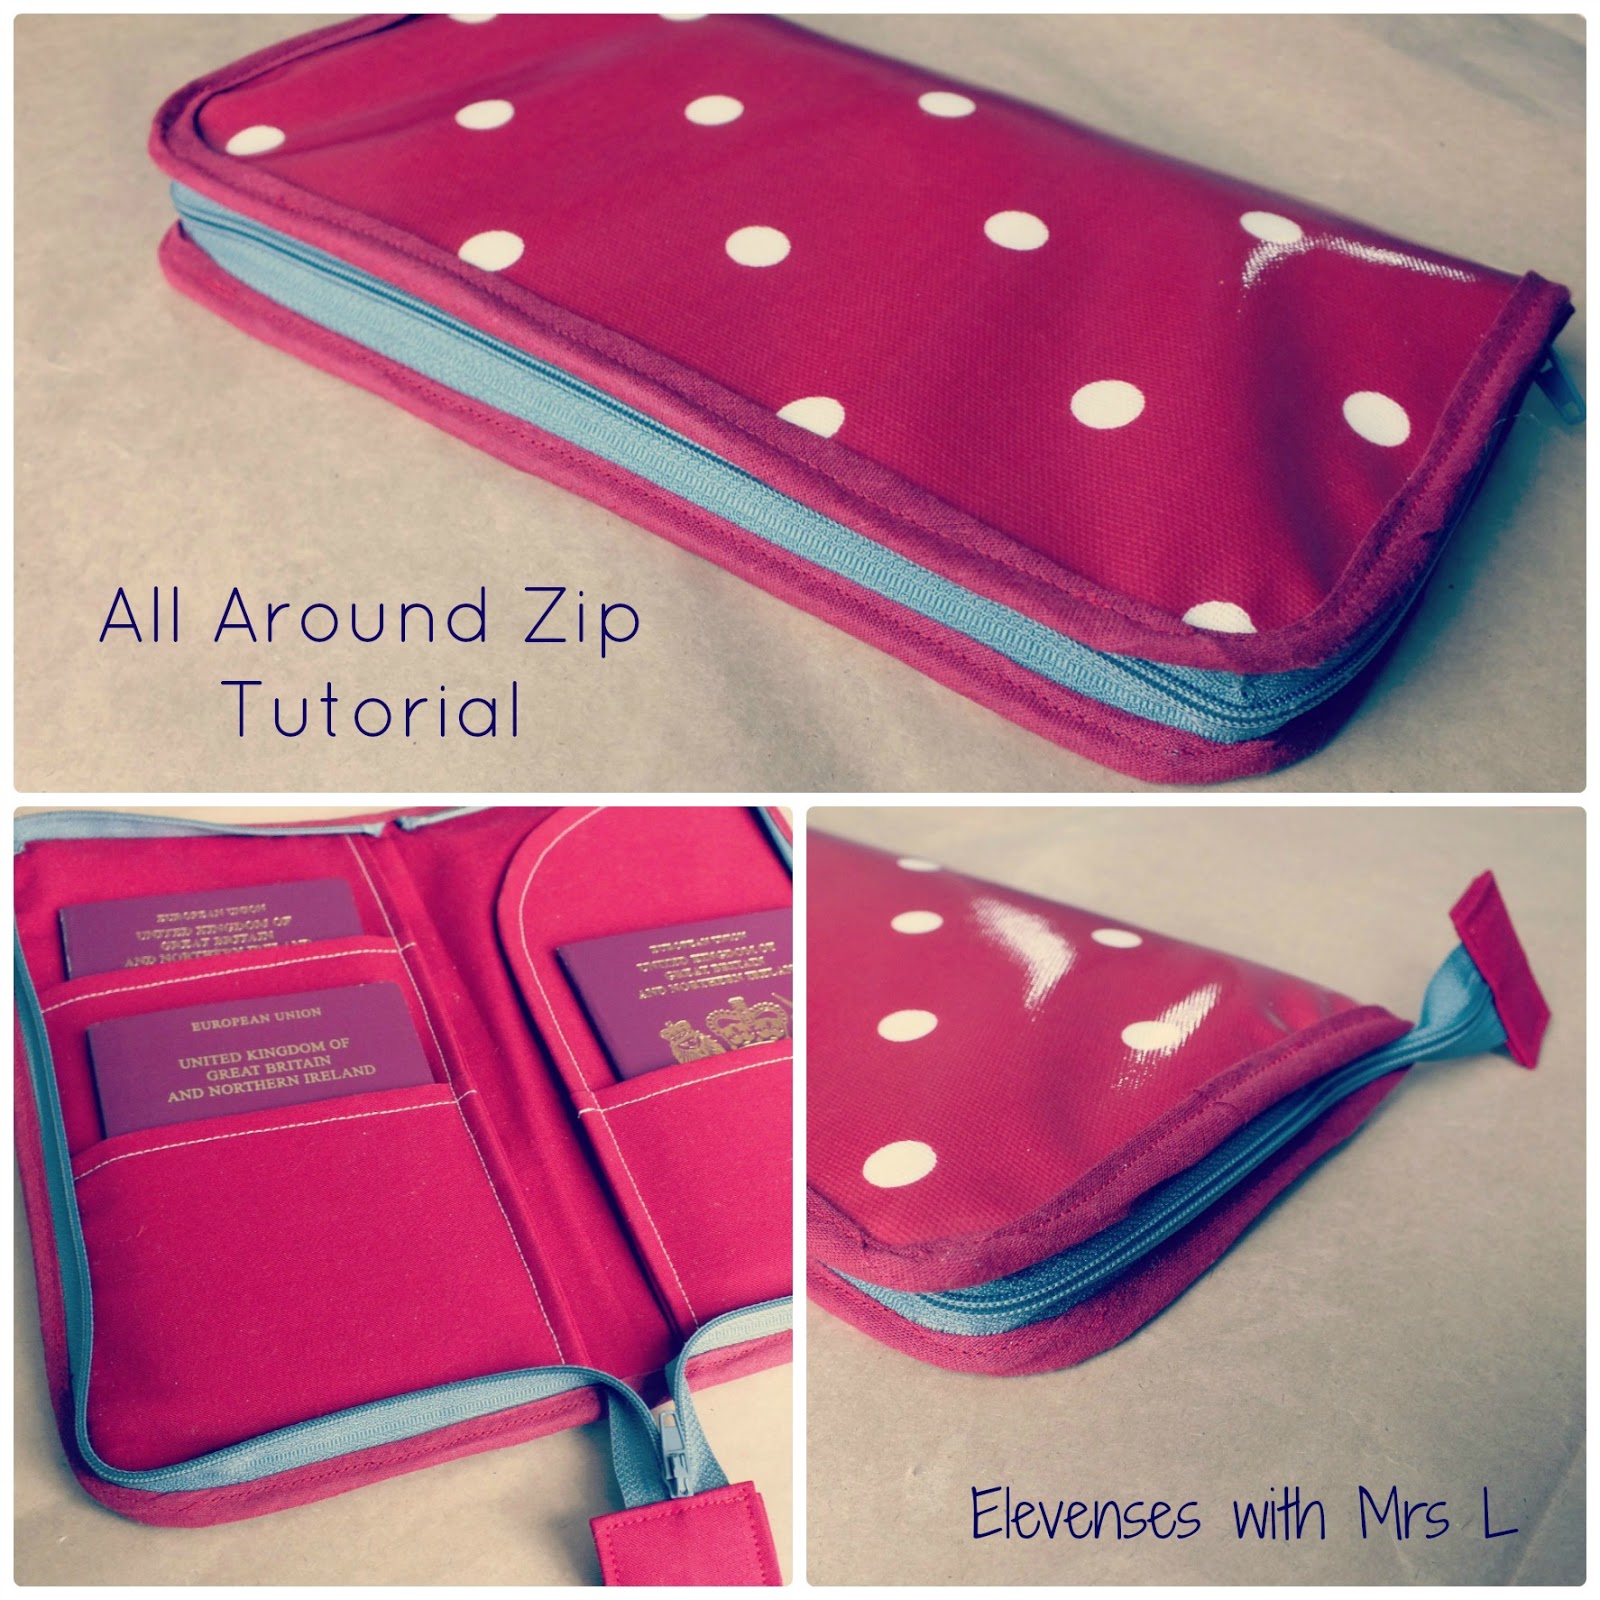
All Around Zip Tutorial


I've just finished making a travel wallet with an all-around zip as part of a custom order and I thought you might like to know how to add this kind of zip.  What do you think?  Shall we give it a go....it's not as difficult as you might think...fiddly, yes, difficult no.

So here is what you will need (this tutorial only refers to how to add the zip and not how to make the wallet.)

- The lining of your project all made up and ready to go
- Outer fabric
- 1 x zip long enough to go all around your project (plus a few inches extra)
- Bias binding
- Your usual sewing kit


OK, here we go....find the centre line of your project either by measuring or iron a light crease down the centre.  Take one side of your fully opened zip and starting at the top of your lining, pin the zip along the edge so that the teeth are facing inwards.  Fold under the end of the zip and leave a gap between each side of the zip, this helps to get a neat finish.


(Ignore my overhanging lining - I was adjusting the length of my finished wallet!). 


Corners can be tricky.  Clip a notch into the zip tape to make it bend around the curve.

Pin your zip around both sides; when you reach the centre bottom, fold your extra length of zip into your lining and pin it to keep it out of the way.  It's worth taking the time to get this step right so that things look even.


With your zipper foot attached, sew all around your zip starting at the top.  


I sewed close to the outer edge as I wanted to create some width in the wallet to hold several passports; you can adjust this depending on the needs of your project.

Take your time with this step - especially around the corners, pivot your lining around whilst the needle is down to sew around the corners.

Once you've sewn around both sides of the zip, check that your project closes!

Now to attach the bias binding to your lining.  Open out the top fold and sew down the crease onto your zip (again, go slow!  Make sure your zipper teeth are out of the way!)  I started the binding at the bottom of lining and overlapped the ends for a neater finish.


Now flip your lining and the binding over to the other side; slot your outer fabric on top (right side up) - you may need to trim the fabric or cut the corners slightly to get it to fit.  I found it useful to have a little (teeny tiny!) overhang to make sure that the stitches caught the fabric.

Fold your binding into a nice neat edge and sew all around.  I found it useful to add a couple of basting stitches to the zip corners to keep the teeth down and out of the way.  Again, go super slow and keep checking that you're not sewing the zip teeth.  Take your time with the corners.


And there you have it...fold in half and you have an all around zip. 


Are you going to give this a go?  Let me know how your projects went!


Wednesday, 6 March 2013


Sometimes you just need to escape....spend some time with family and friends enjoying the spring sunshine.


We escaped to the Cotswolds.  Saturday involved a tasty lunch and a visit to the Cotswolds Farm Park where spring has clearly arrived.


 Sunday was a stroll through the village, a trip to the park and a relaxed Sunday roast in front of the log burner.  Perfect.


 What's your perfect weekend escape?


Tuesday, 19 February 2013

New Bunting Display

I have been racking my brain for a new way to display my bunting samples on my market table for some time.  Up until now, I have been using a fabric covered board propped up by an easel - I had made good sales this way but the board takes up nearly half the table...there must be something better.

This problem had troubled me for ages and then it hit me.....a clothes rail - so simple and cheap that I'm embarrassed it has taken me over a year to come up with this! So, supplies ordered......


I primed the dull black clothes rail and sprayed it a lovely blue..


I knocked up a new sign....


And ta da.... 


Much better I think.